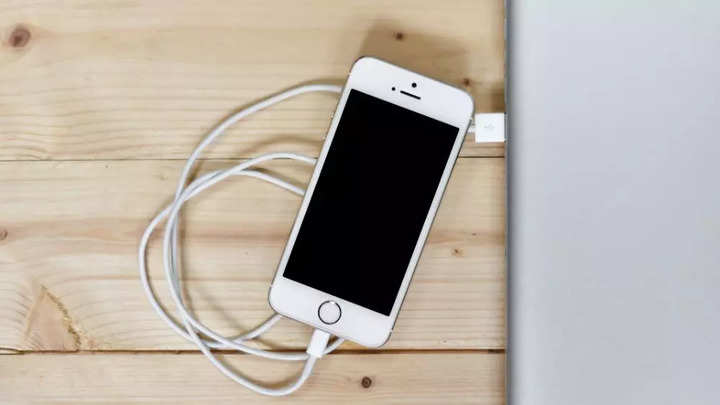
How to easily transfer photos from your iPhone to a USB flash drive
Although your iPhone stores cherished memories in photos and videos, its limited storage capacity often requires additional solutions. One practical option is transferring these photos and videos to a flash drive, providing an uncomplicated storage solution. There are many different methods available for this purpose.
Recognising the need for more storage, manufacturers have created USB devices specifically for smartphones, including compatibility with iPhones. This is a response to the popularity of Apple products and advancements in USB technology. Many of these devices offer significant storage, accommodating numerous photos.
It is important to note that the iPhone’s Photos app has restrictions on directly transferring images not taken with the device’s camera to a Mac. Despite this limitation, a simple and helpful process can be followed, as outlined below.
Read Also


To free up space and have an additional backup, transferring your pictures to a USB flash drive is a simple and effective solution.
Here’s a step-by-step guide to help you through the process:
Connect your iPhone to the Mac
Start by using a cable to connect your iPhone to your Mac. Once connected, either wait for the Photos app to launch automatically or start it manually.
Select the images
In the Photos app, choose the images you wish to transfer to the flash drive. Simply click on each photo to select them. If you want to transfer all photos, you can select them all at once.
Start the import
After selecting your desired images, go to the menu and choose ‘Import.’ This step will initiate the transfer of the selected photos from your iPhone to your Mac.
Wait for the transition
Allow some time for the transfer process from your iPhone to your Mac to complete. The duration may vary depending on the number of photos and the speed of your iPhone and Mac.
Connect the flash drive
Once the photos are on your Mac, connect your USB flash drive to the computer. Ensure the flash drive is compatible with your Mac.
Locate and copy
Locate the images you just transferred on your Mac. Copy the selected images, and then paste them onto the connected USB flash drive.
If you have a considerable number of photos, the import and copying procedures might take longer. Be patient, as the duration depends on the speed of your flash drive.
Conclusion
By following these straightforward steps, you can efficiently transfer your precious memories from your iPhone to a USB flash drive, ensuring you have both a backup and extra space on your device.
FacebookTwitterLinkedin
end of article

Although your iPhone stores cherished memories in photos and videos, its limited storage capacity often requires additional solutions. One practical option is transferring these photos and videos to a flash drive, providing an uncomplicated storage solution. There are many different methods available for this purpose.
Recognising the need for more storage, manufacturers have created USB devices specifically for smartphones, including compatibility with iPhones. This is a response to the popularity of Apple products and advancements in USB technology. Many of these devices offer significant storage, accommodating numerous photos.
It is important to note that the iPhone’s Photos app has restrictions on directly transferring images not taken with the device’s camera to a Mac. Despite this limitation, a simple and helpful process can be followed, as outlined below.
Read Also


To free up space and have an additional backup, transferring your pictures to a USB flash drive is a simple and effective solution.
Here’s a step-by-step guide to help you through the process:
Connect your iPhone to the Mac
Start by using a cable to connect your iPhone to your Mac. Once connected, either wait for the Photos app to launch automatically or start it manually.
Select the images
In the Photos app, choose the images you wish to transfer to the flash drive. Simply click on each photo to select them. If you want to transfer all photos, you can select them all at once.
Start the import
After selecting your desired images, go to the menu and choose ‘Import.’ This step will initiate the transfer of the selected photos from your iPhone to your Mac.
Wait for the transition
Allow some time for the transfer process from your iPhone to your Mac to complete. The duration may vary depending on the number of photos and the speed of your iPhone and Mac.
Connect the flash drive
Once the photos are on your Mac, connect your USB flash drive to the computer. Ensure the flash drive is compatible with your Mac.
Locate and copy
Locate the images you just transferred on your Mac. Copy the selected images, and then paste them onto the connected USB flash drive.
If you have a considerable number of photos, the import and copying procedures might take longer. Be patient, as the duration depends on the speed of your flash drive.
Conclusion
By following these straightforward steps, you can efficiently transfer your precious memories from your iPhone to a USB flash drive, ensuring you have both a backup and extra space on your device.
FacebookTwitterLinkedin
end of article
